
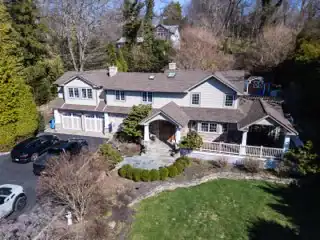
Re-Roof Around a Solar Array in Patchogue, NY
A new roof without touching the panels
A twenty-year-old roof under a live solar array, replaced section by section so the panels came off, the deck was rebuilt beneath them, and the system went back on the same week.
Patchogue, NY
Scope of workA homeowner in Patchogue contacted Home Team Construction after noticing missing shingle tabs and granular wash accumulating along the driveway after heavy seasonal windstorms. The home had a high-efficiency photovoltaic solar panel system mounted to the primary south-facing roof slope just four years prior, while the underlying architectural shingles were pushing twenty years old and reaching the end of their lifespan. The owner needed a complete roof replacement that would leave the active solar investment protected, properly integrated, and performing without disruption.
The primary goals included:
- Navigating the tear-off and replacement around existing roof-mounted solar hardware without disturbing the panels or voiding system warranties.
- Stripping failing shingle courses down to bare structural decking on all open slopes and around solar stanchion penetrations.
- Re-flashing every individual solar mounting bracket to eliminate vulnerable leak paths underneath the array.
- Installing a high-wind-rated architectural roofing system capable of handling Great South Bay coastal gusts.
Our team completed a roof-level inspection, checked attic rafters beneath the racking lag bolts for signs of stress, and mapped out a careful logistical plan to execute the job safely around the energized array.
- Property
- Two-storey, c. 1988
- Roof area
- Approx. 2,400 sq ft
- Complication
- Live rooftop solar array
- On site
- Five working days
What we found
Navigating the Array & Stripping the Slopes
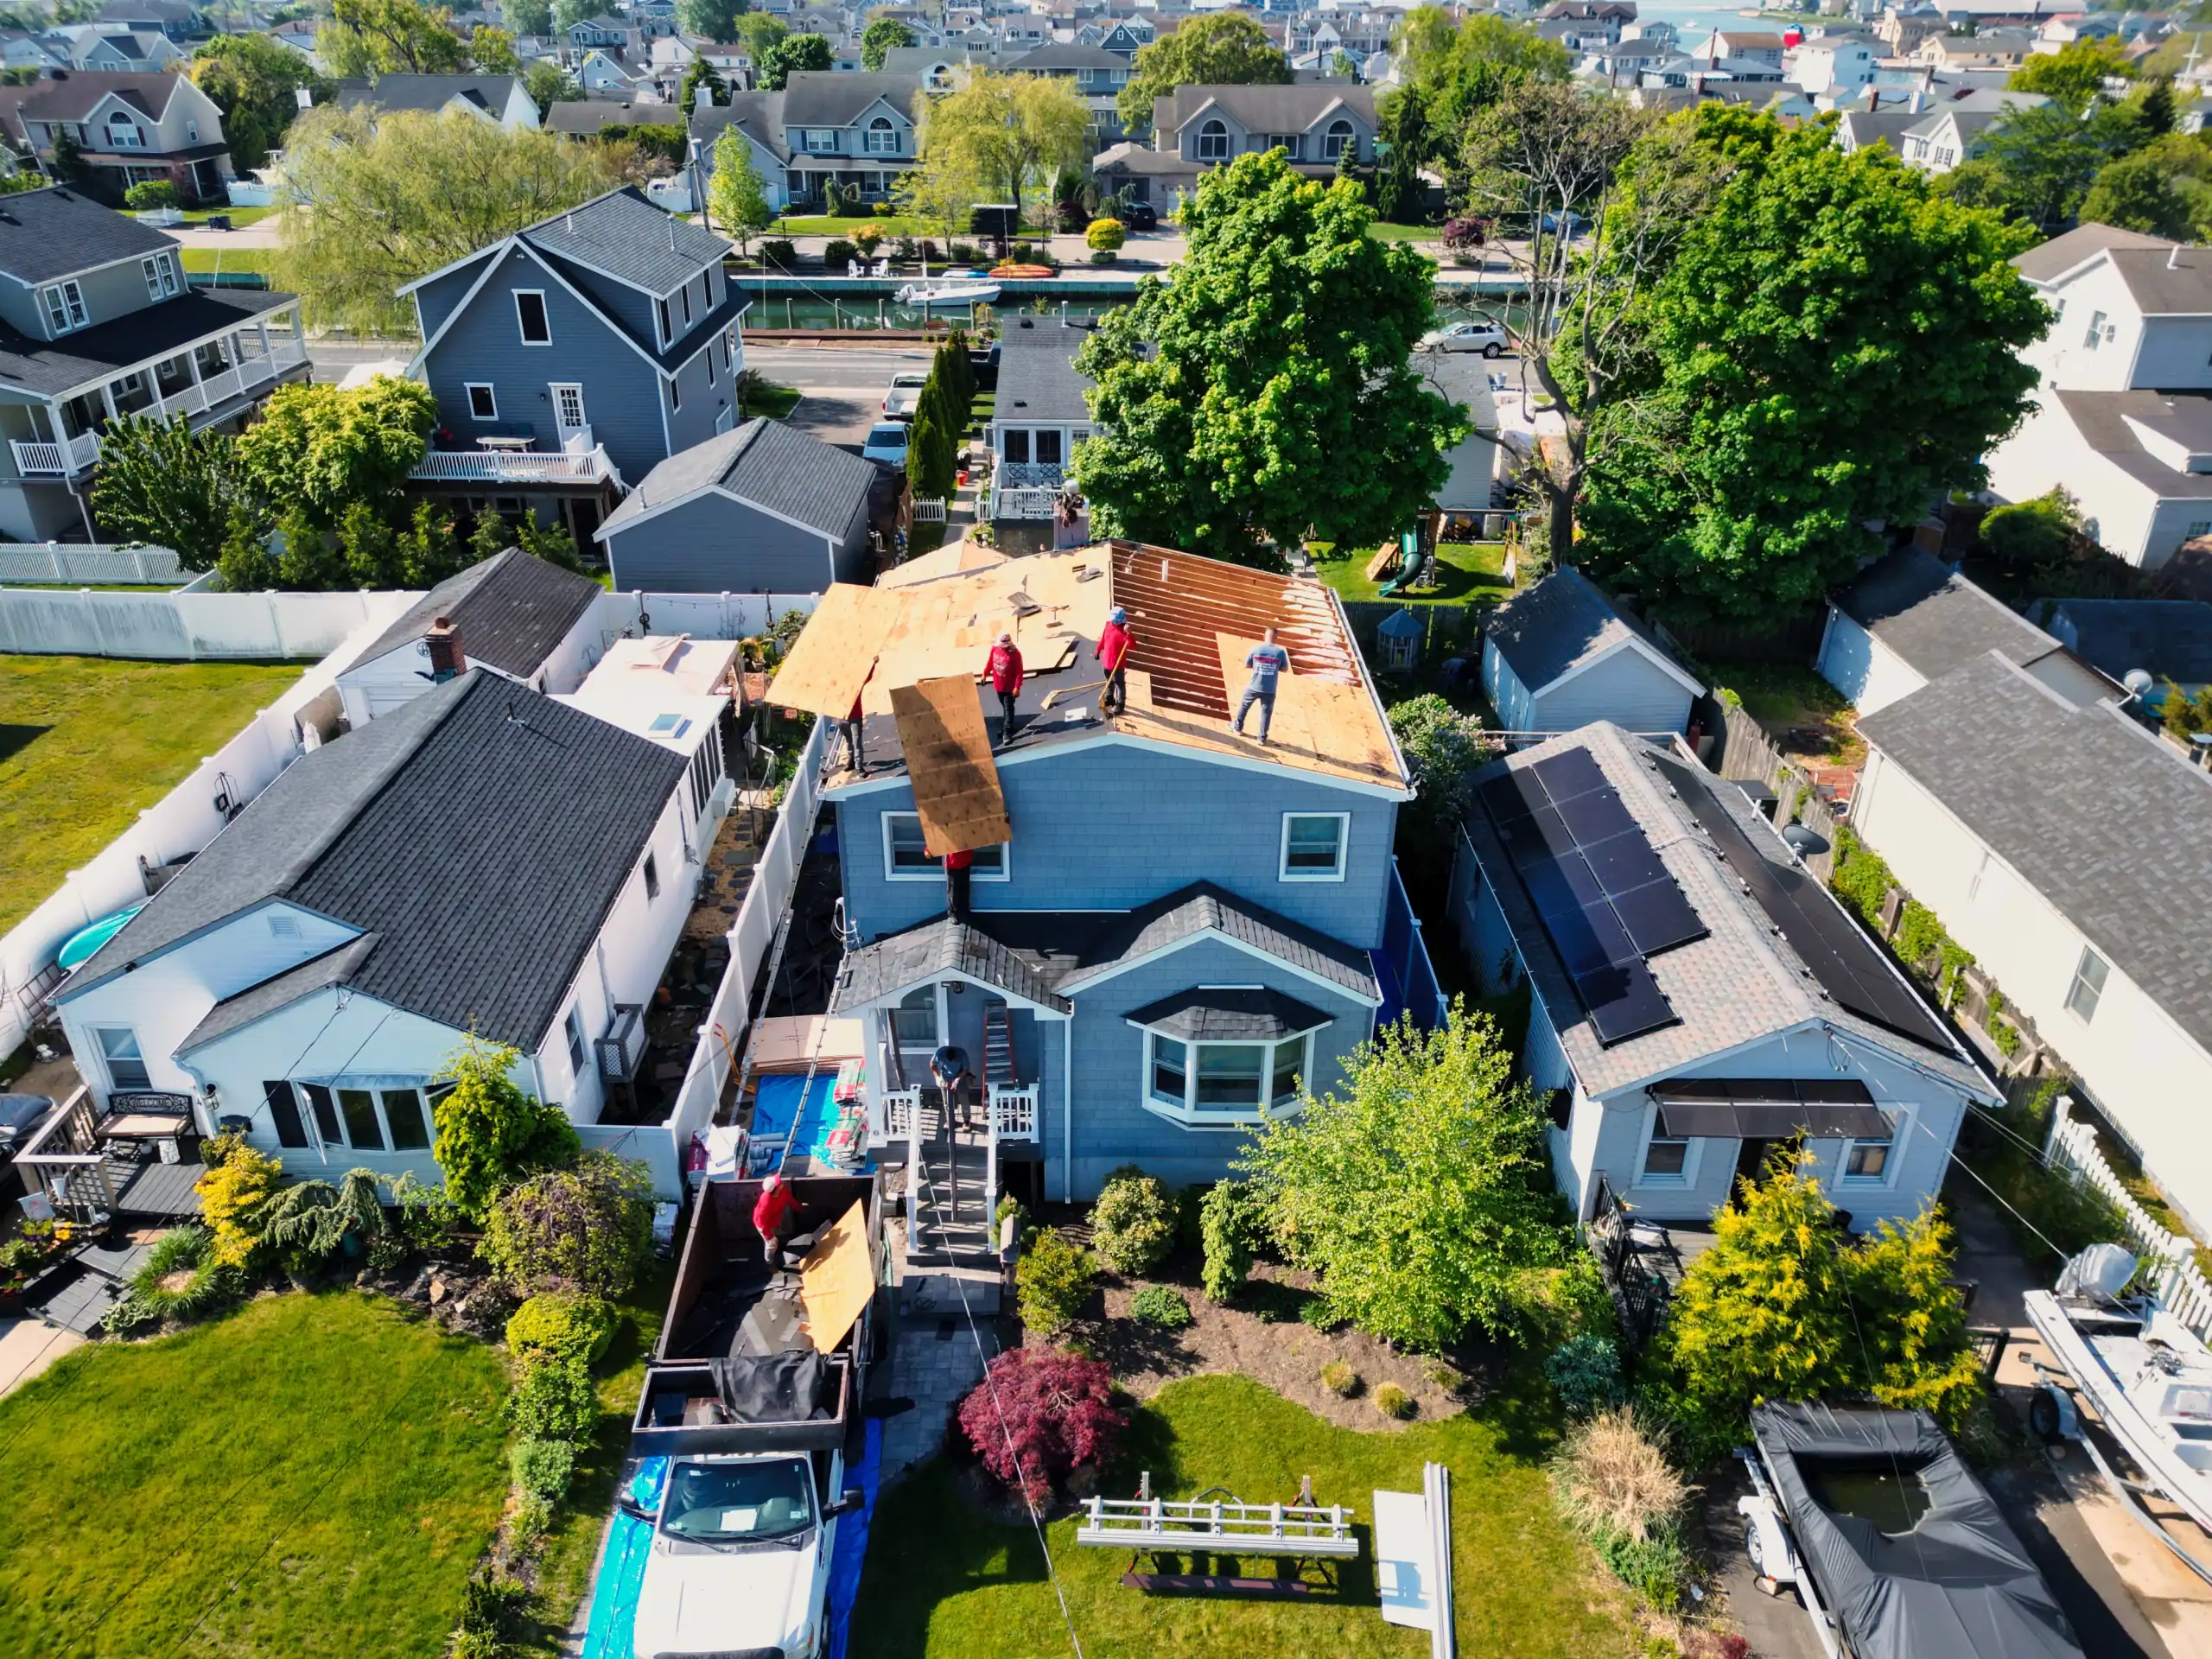
Re-roofing a house with existing solar demands surgical precision because solar stanchions pierce the roof deck dozens of times, creating concentrated water channels. On this Patchogue home, the solar installation company had previously gooped heavy beads of tar around their mounting feet over aging shingles instead of installing proper step flashing. Stripping the surrounding field revealed that water had been backing up behind the upper racking brackets, soaking the plywood around several lag bolts. Our crew had to maneuver carefully across the pitch with specialized low-profile pry bars to clear out degraded materials directly beneath the racking rails without scratching panel glass, damaging underlying microinverters, or straining DC conduit runs.
What we were working around
- Live electrical conduit lines carrying active current from the array
- Low clearance racking rails leaving tight spaces for hand tools
- Fragile photovoltaic glass surfaces vulnerable to accidental scuffs or strikes
- Dozens of lag penetrations anchoring the mounting feet into framing
We had been putting the roof off for two years because everyone said the panels made it complicated. It was five days and the system was barely offline.
How we did it
Step by step
-
Surgical clearance and substrate check
Stripped shingles carefully around solar brackets down to plywood, pulled rusted fasteners, and reinforced stressed decking around racking bolts.
-
Bracket isolation and membrane flashing
Wrapped every solar mounting foot with self-adhering ice and water shield, fitting heavy-gauge aluminum flashing boots over each stanchion.
-
Field shingling and perimeter tie-in
Nailed architectural shingles seamlessly across synthetic underlayment, sliding courses tightly beneath array clearance points to lock in weather protection.
The result
Precision Flashing & System Integration
Our crew secured the building envelope by treating every solar penetration as a critical roof transition, blending mechanical flashings with modern moisture barriers:
- Deck Reinforcement: We inspected every mounting bolt point from the attic side, replacing soft plywood surrounding the solar hardware with fresh CDX sheathing and securing the structural framing.
- Flashing Boot retrofits: Instead of relying on caulking around the racking, we fitted custom-formed metal flashing bases under each solar bracket, allowing rain to run over the metal rather than pooling against the bolt penetrations.
- Full-Slope Underlayment: The entire south-facing deck was prepped with tear-resistant synthetic underlayment, topped with overlapping runs of self-adhering leak barrier around the array perimeter where wind vortices form.
- Precision Shingle Woven Field: We hand-nailed wind-resistant architectural shingles row by row, carefully weaving them beneath the panel clearance spaces with six nails per shingle to withstand coastal gusts.
- Shielded Ridge and Valley Drainage: The crew installed an open-channel, heavy-gauge aluminum valley to divert upper roof water away from the array edge, topping the peak with an impact-resistant ridge vent for balanced exhaust.
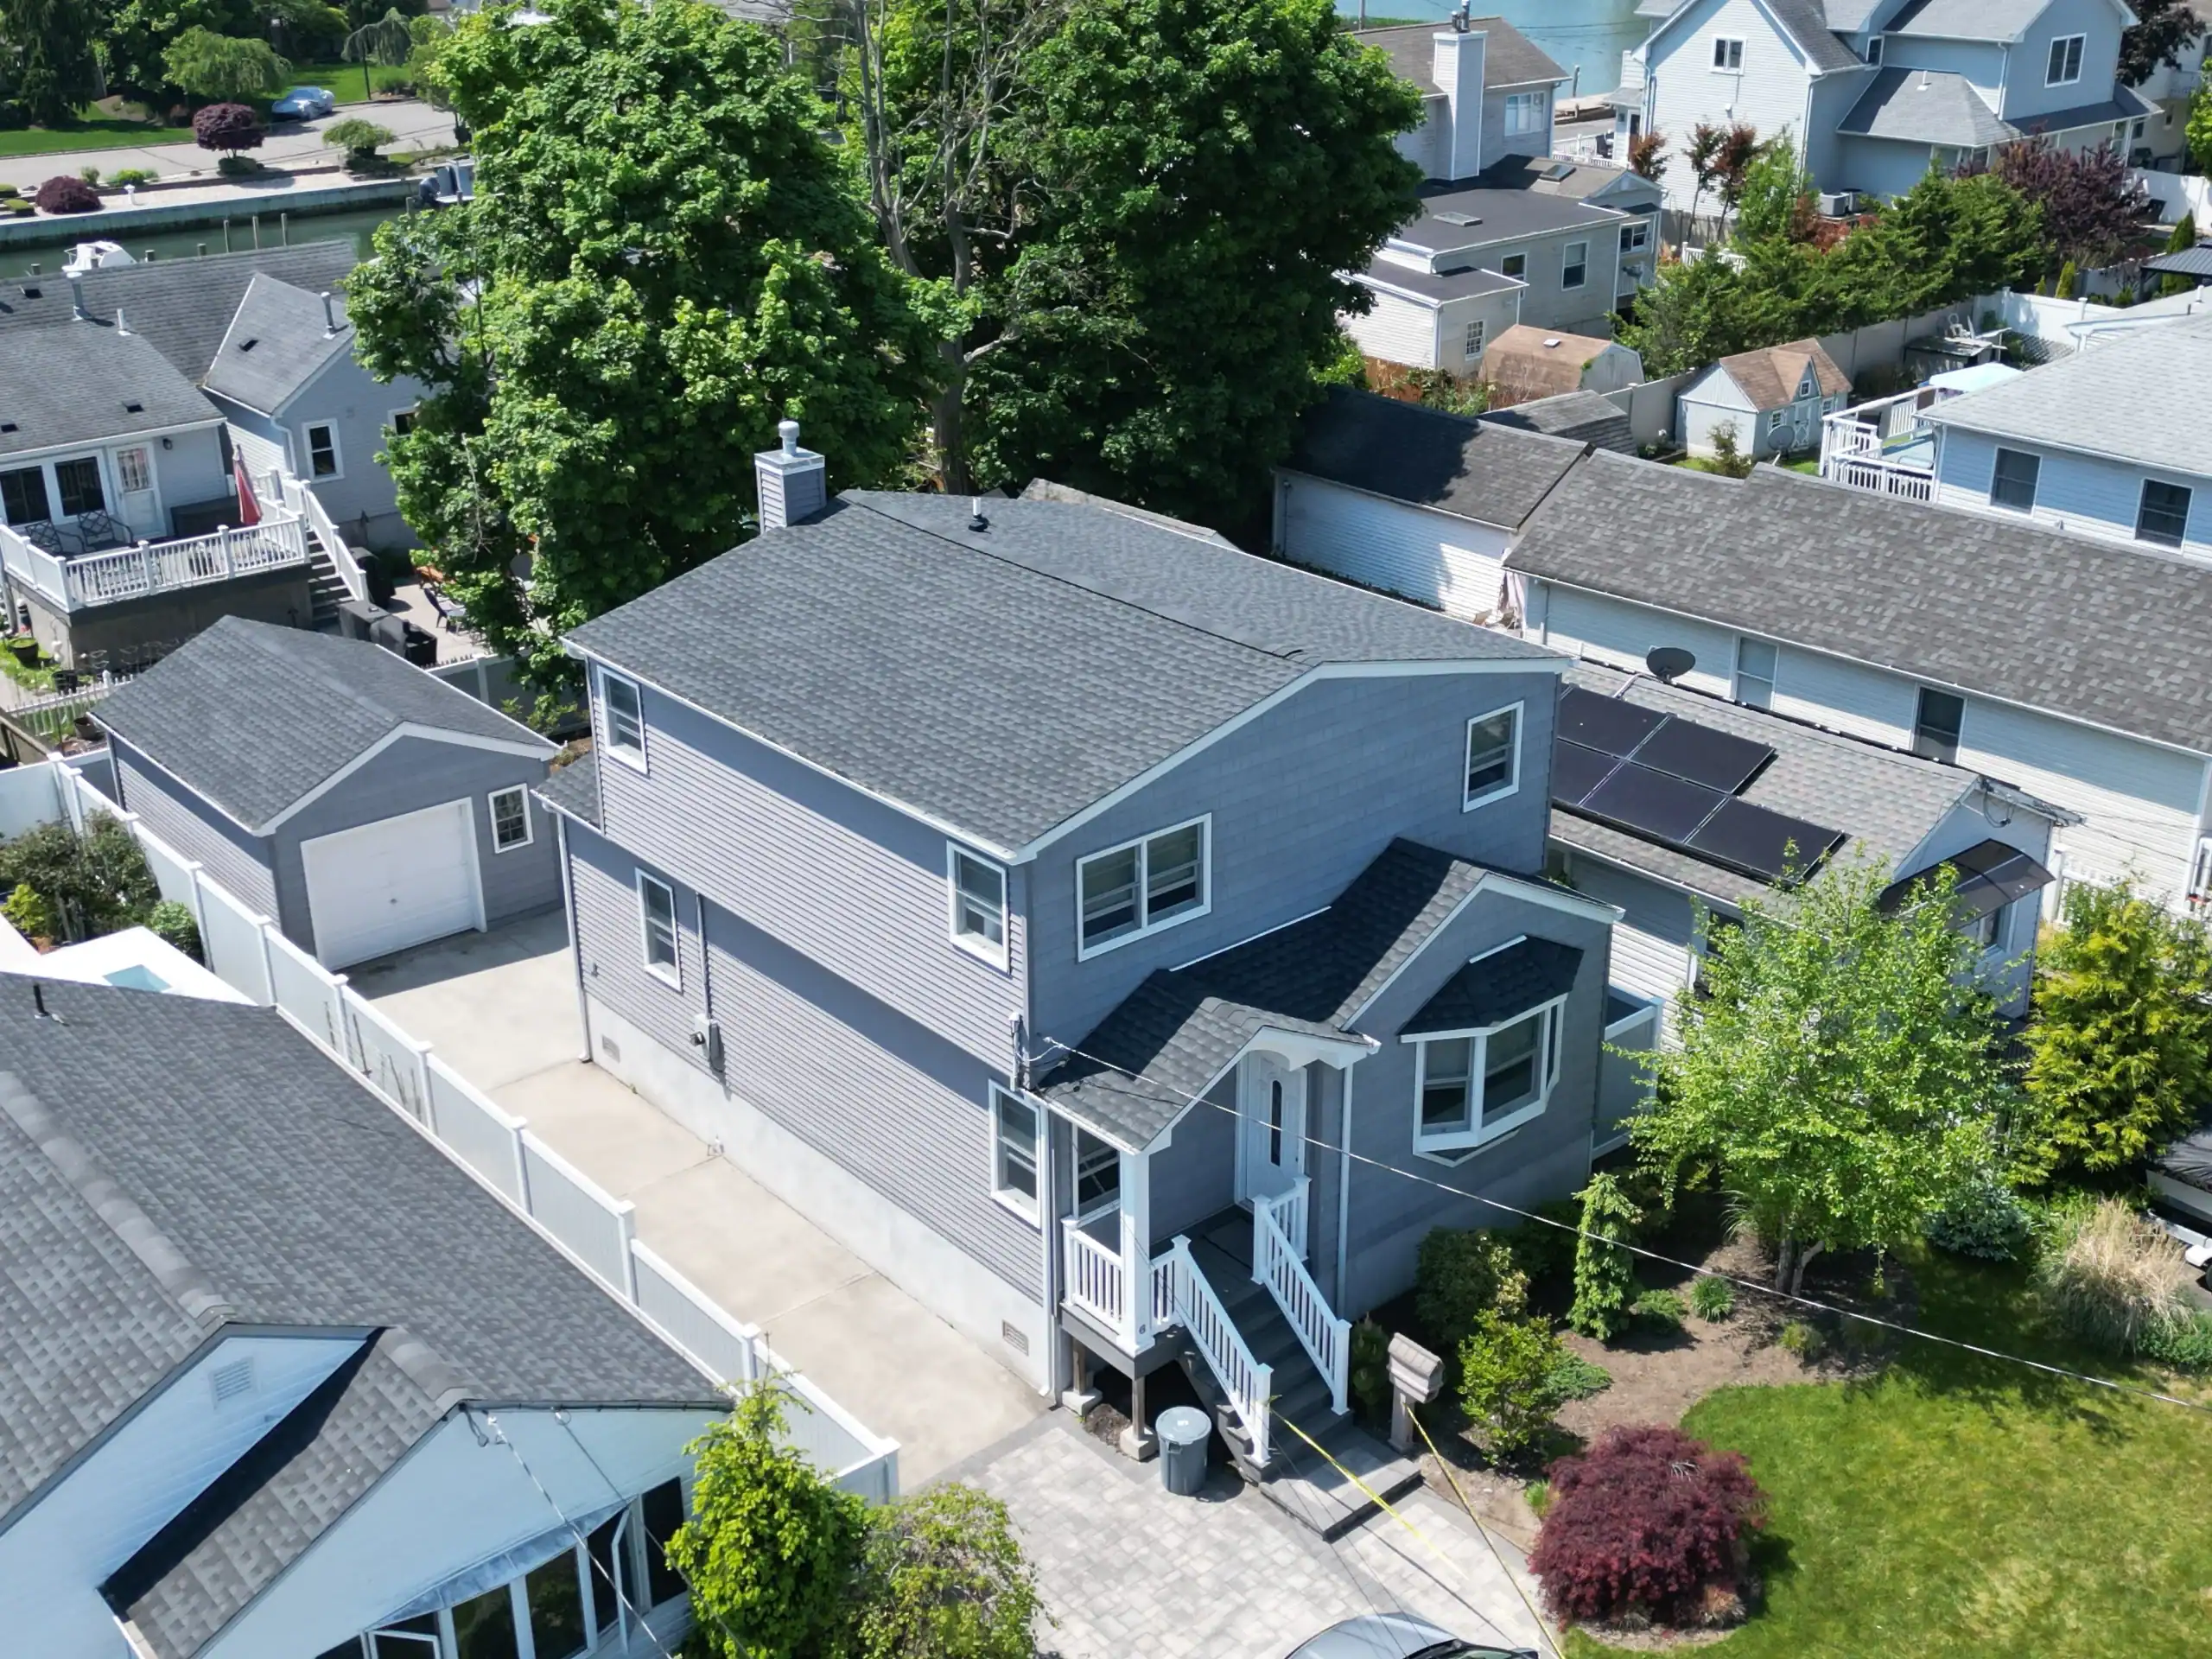
The completed project gave the Patchogue home a resilient new roof that protects the structure for decades to come, while keeping the homeowner’s renewable energy system fully intact and operating smoothly.
This project is part of our roof replacement service, handled carefully around an active solar array.
What went on
- Prying out brittle shingles carefully beneath active solar panel racking rails
- Replacing water-softened plywood decking around vulnerable solar lag bolt penetrations
- Wrapping every solar bracket base in high-temperature self-adhering leak barrier
- Installing custom metal flashing boots under individual mounting stanchions to shed runoff
- Hand-nailing new architectural shingles flush around the racking footprint for a watertight fit
Get Your Roof Fixed Right
Let’s talk about your project. No pressure, just honest answers and a quote you can count on.