
Chimney Crown & Cap Replacement in Coram, NY
A cracked crown, rebuilt in a day
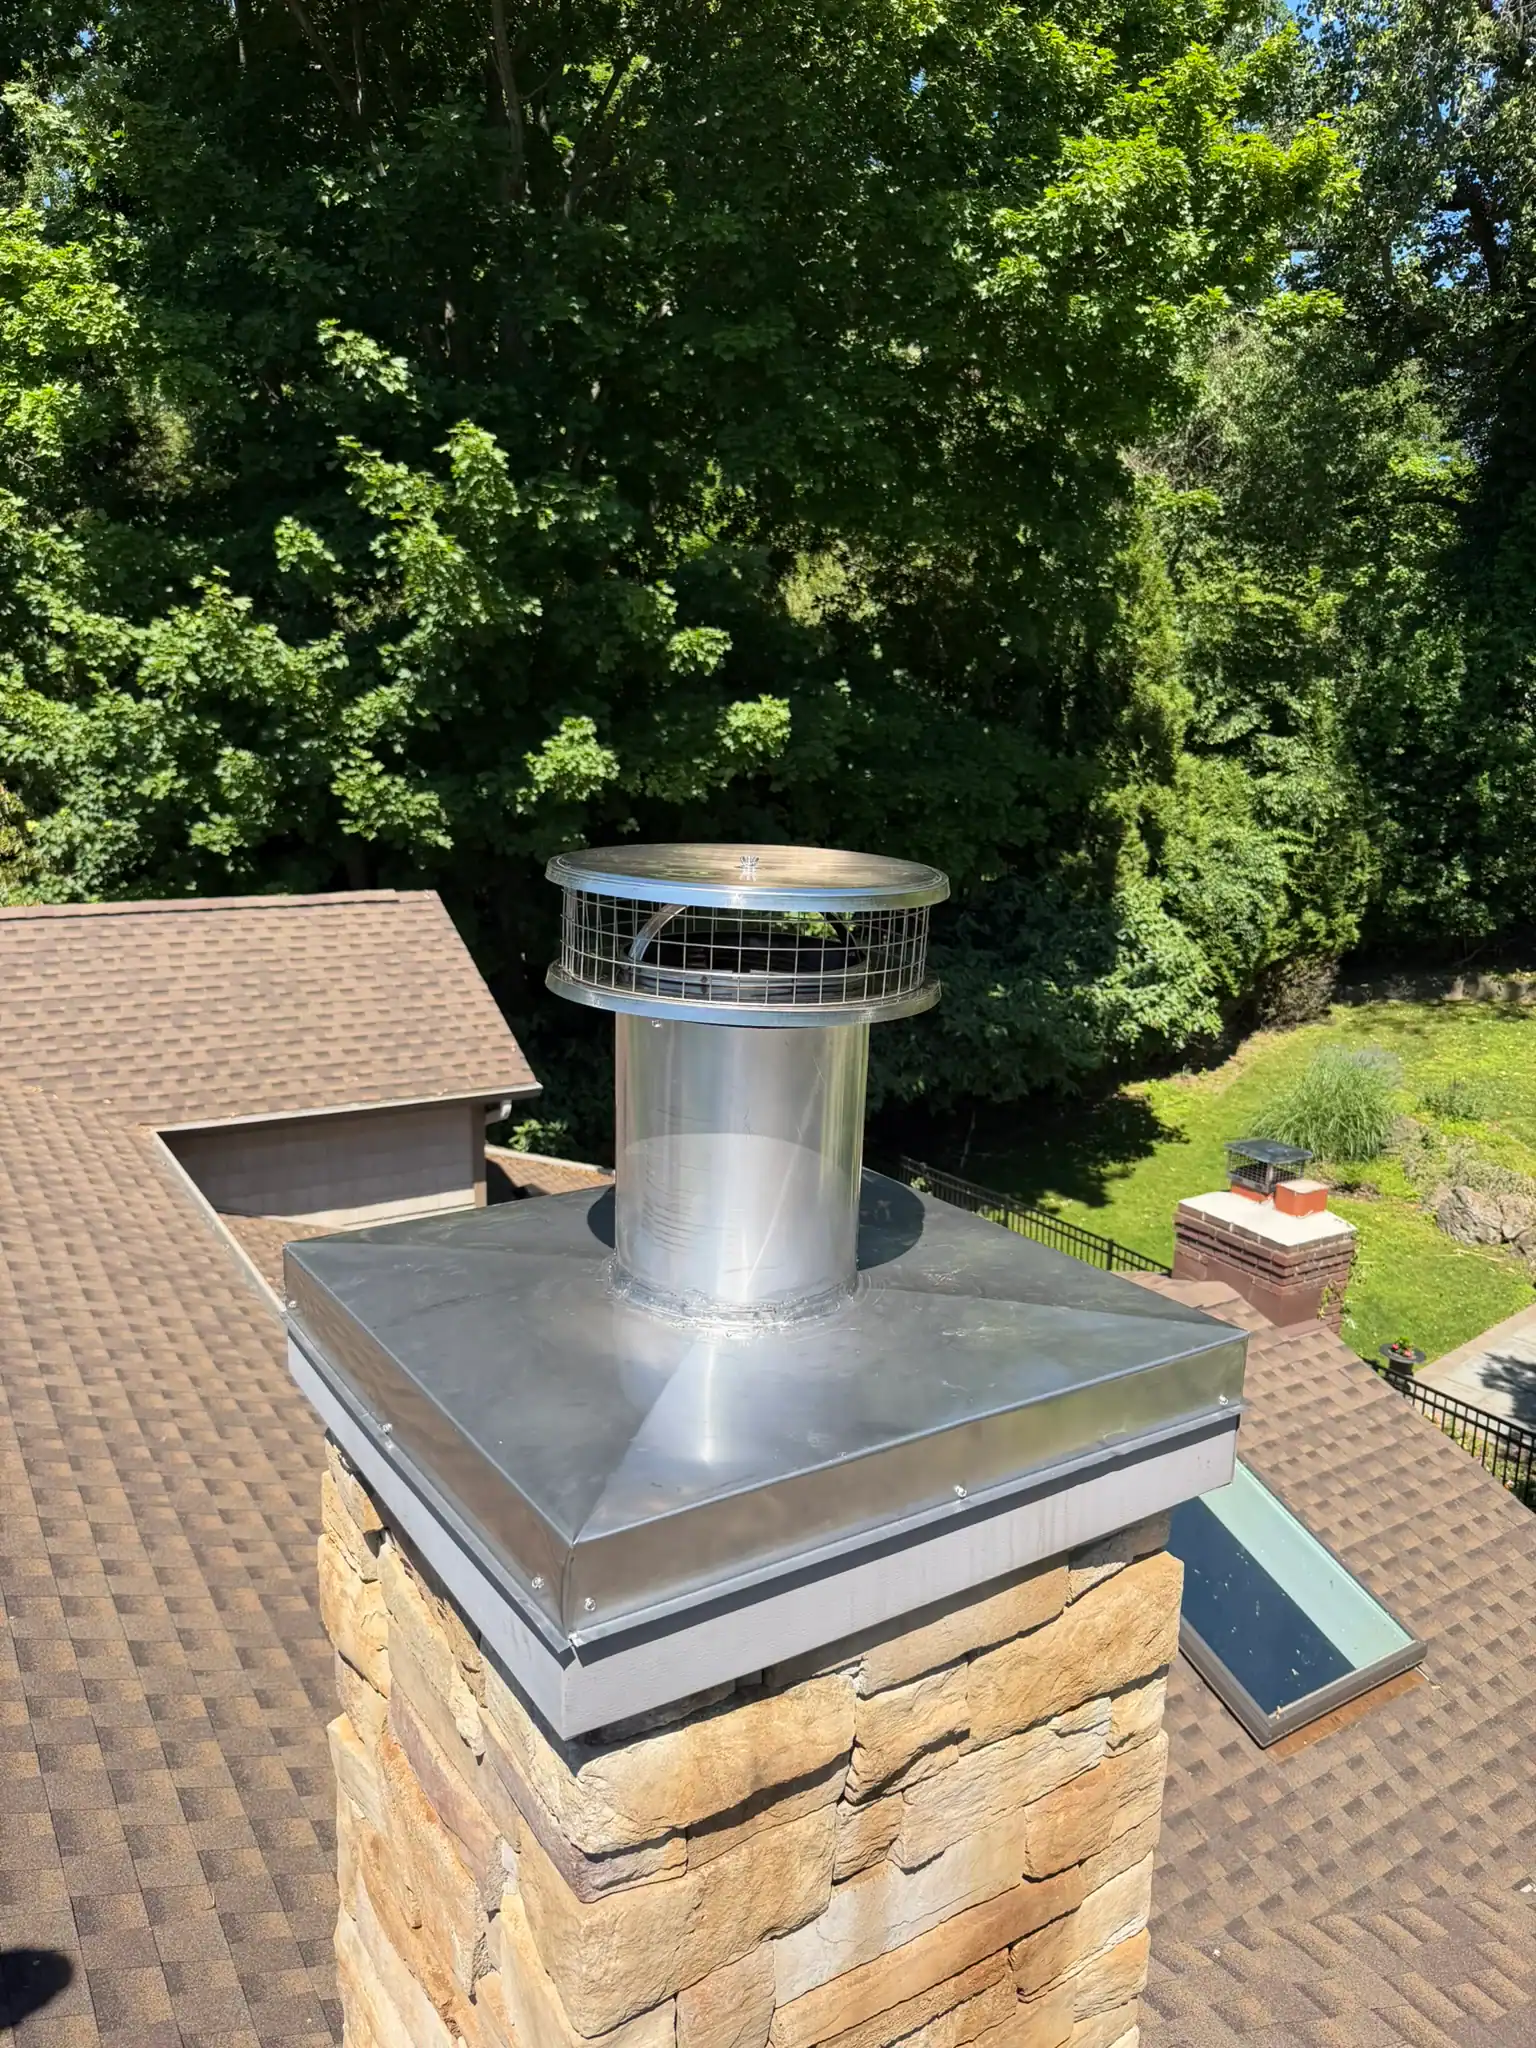
A stone chimney taking water through a failed crown, rebuilt with a new cast crown, a stainless liner cap and fresh flashing at the roof line.
Coram, NY
Scope of workA homeowner in Coram contacted Home Team Construction after finding small chunks of broken concrete and loose mortar scattered across their roof and front driveway following a harsh winter freeze. Inside, the firebox began smelling damp and musty during rainy weeks. The existing chimney had an old mortar wash top that had fractured over decades of exposure to central Long Island weather, leaving the interior flue liners and exterior brickwork open to rain.
The primary goals included:
- Removing the deteriorating mortar wash without damaging the clay flue liners below.
- Building a proper, reinforced concrete chimney crown with a dedicated overhang to shed water clear of the brickwork.
- Installing a durable stainless steel spark-arresting cap to keep out nesting birds, debris, and driving rain.
- Stabilizing the top brick courses to prevent winter water expansion from splitting the stack.
Our crew inspected the top of the chimney chase, checked the internal flue integrity with a drop light, and set up a plan to rebuild the weather barrier from the masonry core upward.
- Property
- Single-storey ranch
- Chimney
- Stone veneer, single flue
- Cap
- Stainless steel, lifetime
- On site
- One working day
What we found
The Impact of a Failed Chimney Crown
A chimney crown is the roof of the chimney, and when it fails, water works into every layer beneath it. On this Coram chimney, the original builder had simply skimmed a thin layer of standard mortar over the top bricks instead of pouring a true, overhang crown. Years of winter freeze-thaw cycles turned hairline cracks into deep fractures, allowing rainwater to funnel directly between the exterior brick facade and the interior clay flue tiles. Tapping the upper courses of brick revealed hollow-sounding mortar joints where trapped moisture had washed out the binder. Left uncorrected, another winter would have pushed the top courses completely out of plumb and caused structural bricks to spall and drop.
What the inspection turned up
- Fractured mortar wash top allowing rainwater down flue walls
- Spalling upper brick courses loosened by winter freeze cycles
- Missing metal flue cap leaving flues exposed to weather
- Washed out joint mortar along the upper three brick rows

We had a roofer look at it twice for a leak that turned out to be the top of the chimney. One day and it was done.
How we did it
Step by step
-
Crown demolition and brick repair
Chipped off the shattered mortar top, removed loose brick layers, and rebuilt the top rows with high-strength Portland masonry mortar.
-
Formwork and crown pour
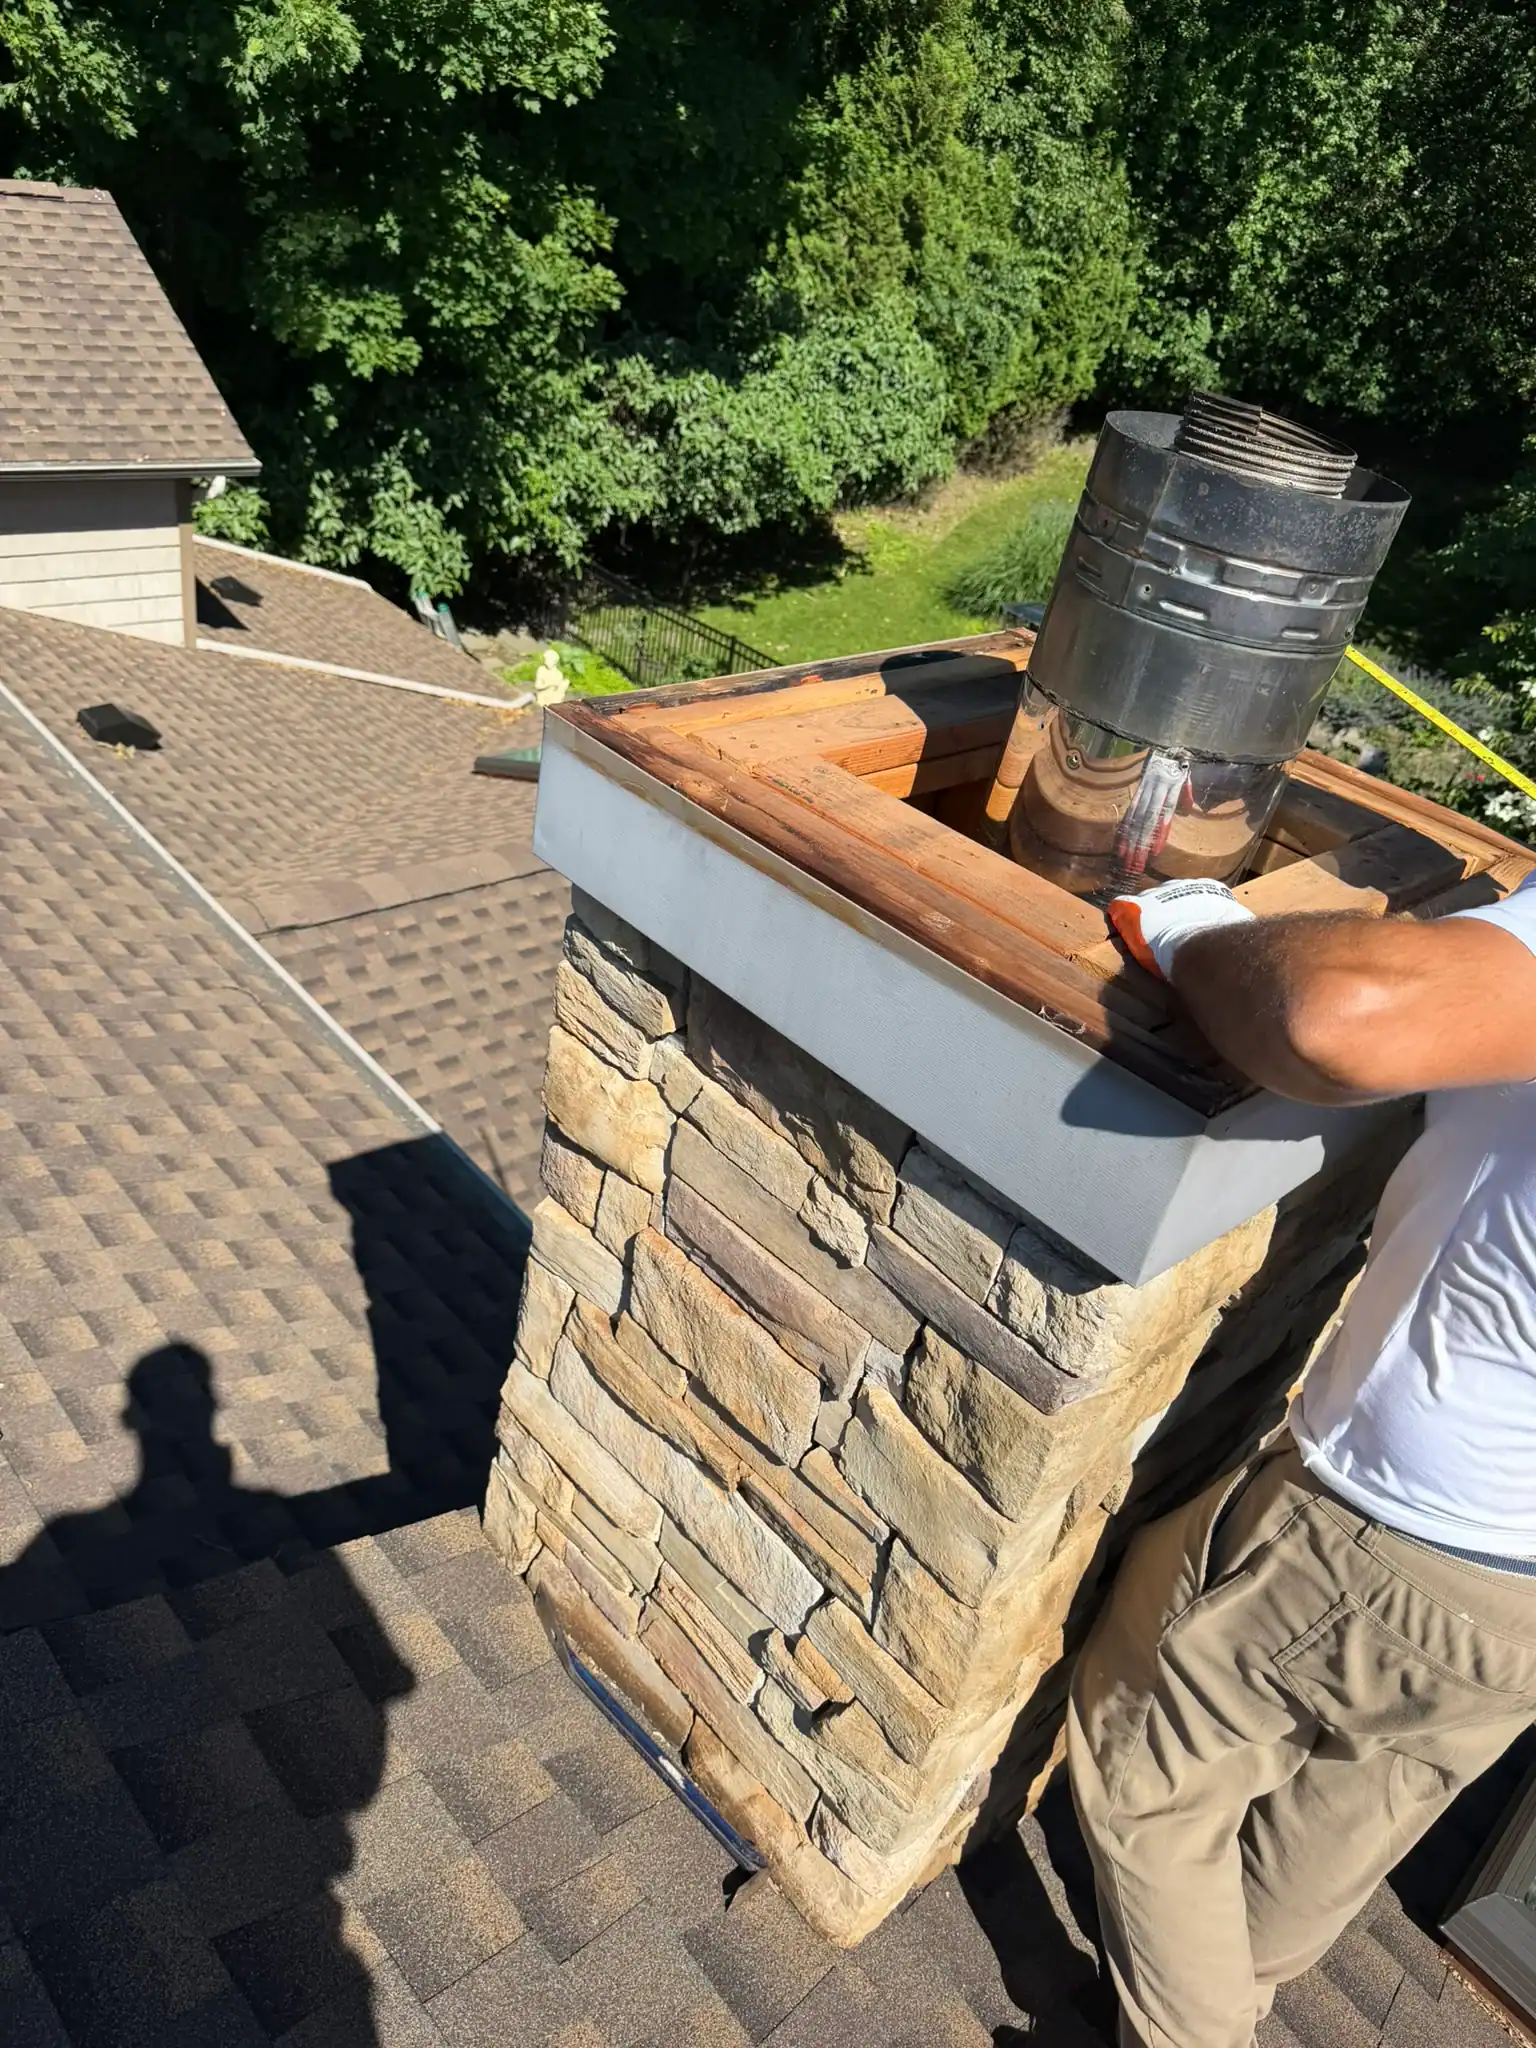
Built custom wooden forms with a drip overhang and poured a steel-reinforced concrete crown pitched outward to shed rainfall.
-
Cap mounting and seal
Bolted a multi-flue stainless steel chimney cap over the liners and applied flexible silicone expansion sealant around the flue edges.
The result
Water Thrown Clear Instead Of Soaking In
Our team resolved the water entry points by stripping away the temporary mortar wash and building a permanent, engineered cap and crown assembly:
- Masonry Course Stabilization: We took down the unstable top three courses of brick, scraped the surfaces clean, and relayed the bricks using high-bond, weather-resistant mortar to provide a solid foundation for the crown.
- Formed Reinforced Crown: Instead of another thin trowel wash, our crew built wooden formwork extending two inches past the brick face. We set a steel reinforcement grid inside and poured high-strength concrete pitched downward toward the edges to divert runoff.
- Under-Crown Drip Edge: The underside of the concrete overhang was cast with a continuous drip groove, preventing rainwater from rolling around the bottom edge and running down the brick faces.
- Flue Expansion Gap: We wrapped the clay flue liners with compressible bond-break foam before pouring the concrete, allowing the flues to expand safely during winter fireplace fires without cracking the new crown.
- Stainless Steel Flue Cap: We installed a heavy-duty stainless steel chimney cap anchored directly into the top concrete, featuring spark-arresting mesh screens to block squirrels, leaves, and driving South Shore rain.
The finished concrete crown and stainless cap fully sealed the top of the masonry chase, keeping the flue dry and protecting the chimney from seasonal frost damage.
This project combines our chimney repair and chimney replacement services.
What went on
- Chipping off brittle mortar slabs with pneumatic chisels down to sound chimney brick
- Tuckpointing compromised masonry joints across the upper tiers with fresh bonding mortar
- Assembling a cantilevered wood form to cast a wide protective drip overhang
- Pouring high-strength concrete mix reinforced with metal mesh for long-term frost resistance
- Fastening a stainless multi-flue cap mechanically into the cured crown with concrete anchors

Get Your Roof Fixed Right
Let’s talk about your project. No pressure, just honest answers and a quote you can count on.